Replacing Surfsight SD Cards

The SD cards provided with your Surfsight camera are at risk of becoming corrupted under certain circumstances. This could cause the camera to fail to record video. To determine if you are currently impacted, in the Surfsight portal, go to Health, then the Alarms report. If you see a message stating “SD Card is not mounted, the camera is not recording video”, then your cameras are already impacted and the SD cards must be replaced right away.
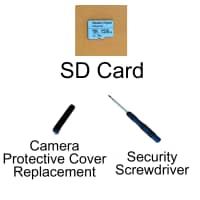
We worked with the camera manufacturer to proactively provide you with an SD card replacement kit so you can replace the SD cards to avoid any issues. We recommend that you replace the SD cards as soon as possible. The following items are provided in the SD card replacement kit.
1. Power off the dashcam
To power off the dashcam:
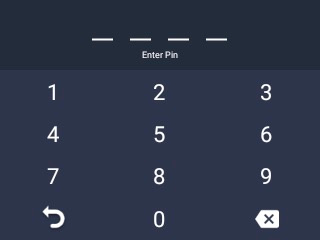
When you are in the parked vehicle with the parking brake on, the ignition on, and the door closed, press the touchscreen of the dashcam to view the PIN screen.
Enter settings
Enter the default PIN 3333 to unlock the dashcam for the first time. If you have previously setup a custom pin, enter that pin.
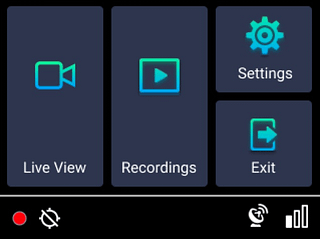
The screen unlocks and the menu appears.
Press Settings
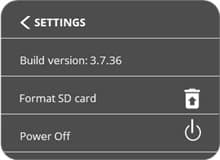
Scroll down and press Power Off.
A confirmation window pops up.
Follow the instructions on the screen to first disconnect the power cable, and then press OK on the screen to power off the dashcam.
Complete this step in order to prevent the dashcam from restarting. If the dashcam does restart, repeat this step to avoid draining the battery.
If a tamper-proof case is installed on the dashcam, remove it before disconnecting the power cable.
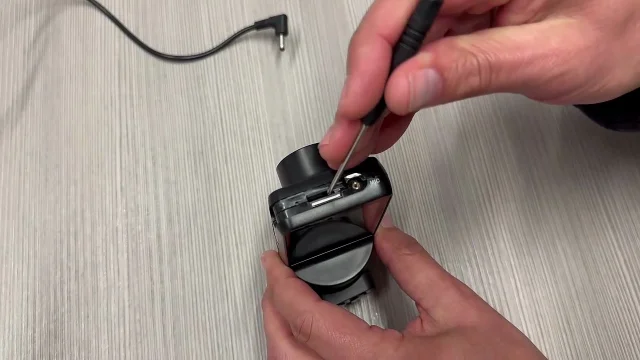
Remove the SD card
To remove the dashcam SD card:
Use the security screwdriver included in the provided kit to remove the safety screws that lock the protective cover over the SIM and SD card slots.
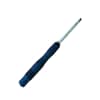
Security screwdriver
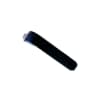
Protective Cover
Note: A magnet under the cover is used for detection. When the protective cover is opened, a tamper event is triggered.
Remove the SD card by gently pressing on it and releasing it. It should pop out.
Note: Do not discard the old SD card. See the instructions below for downloading the video from the removed SD card.
Insert a new SD card
Insert the new SD card into the SD card slot of the dashcam.
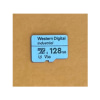
Replacement SD Card
Power on the dashcam
Reconnect the power cable to power on the dashcam.
Format the new SD card
To format the new SD card:
The screen unlocks and the menu can be viewed.
Press Settings.
Scroll down to Power Off
The following steps are required to restart the dashcam. It is important to keep the power plug in the dashcam when it restarts.
Screwdriver
Replacement Cover
Download data
To download data from the old SD card to a storage device:
Watch this video detailing the process for replacing the SD card.
Instructions source: Surfsight knowledgebase


